
How to Grow and Make Home Made Aloe Vera Shampoo and Other Products – Step by Step Guide
Aloe Vera is a well-known plant for it produces a beneficial gel offering numerous functions to promote human health.
Even better, the gel can be consumed either orally or topically to skin, scalp, and hair.
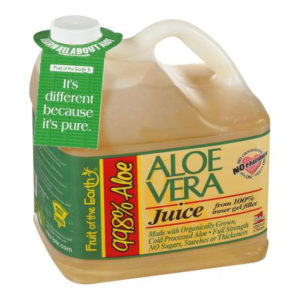
Ready-to-consume Aloe Vera Juice Drinks Containing Aloe Vera gel is commercially available, but making a homemade juice is also easy.
To make Aloe Vera Juice you need lots of the Aloe Vera plant.
Growing Aloe Vera At Home – Tips For a Perfect Plant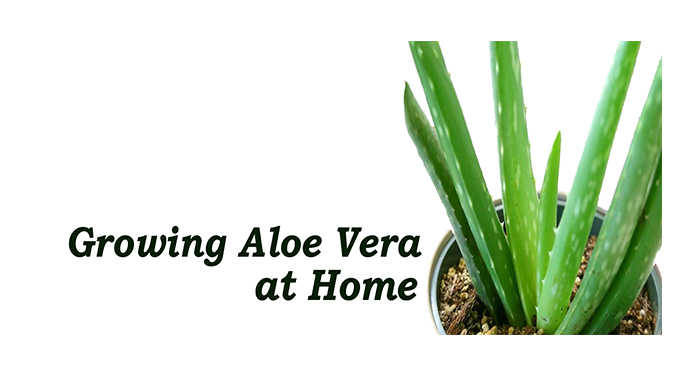
Aloe Vera is one of the most useful plants in the world. It also used as ingredient to different products.
It has anti-microbial, antifungal and antiviral properties. It is great for the skin, especially in treating sunburns.
It boosts the immune system, detoxifies the body and promotes cardiovascular health.
It also aids in fat loss and fights against inflammation.
Seriously, the list of Aloe Vera uses can run into multiple pages!
Our Tips for Growing Aloe Vera at Home
- Aloe Vera is ridiculously easy to grow. It is extremely hardy and requires almost no maintenance. Just don’t over-water it. It becomes susceptible to root rot if the soil is too wet.
This is a sub-tropical, succulent plant and its leaves and root system store copious amounts of water. 95% of the plant is water! As a result, Aloe Vera is highly resistant to drought. In fact, it does well when it the top surface of the soil is slightly dry.
- There are more than 250 species of Aloe Vera in the world – most of these are native to the continent of Africa. Some of the species of Aloe can grow up to more than 2 meters in diameter.
However, Aloe Vera is very versatile and can be planted in a pot as well as outdoors. If you are planting outdoors, remember that Aloe Vera requires soil that is not too rich and WELL DRAINED. It thrives in USDA zones 9 to 11.
- If you decide to plant in a pot, make sure that the pot is WIDE. The roots of Aloe Vera do not run very deep; they are quite shallow and tend to spread laterally. So depth of the pot is not an issue but it must be wide and should definitely have a drainage hole.
Steps in Planting Aloe Vera
1. (It is very common to come across Aloe Vera plants that are literally drooping out of the pot)
Use a potting mix that is meant for cacti. You can also create your own potting mix by mixing together normal garden soil with some construction sand.
2. Place a few stones or rocks at the bottom of the pot and then add your potting mix.
Create a hole in the soil and place the roots in it – the roots should be completely buried in the soil; they should not be visible.
3. Plant only one plant in one pot.
You will notice that small ‘pups’ begin to appear at the base of the mother plant. Tens of these pups appear per year and this is how the plant ‘spreads’ vigorously.
You can separate these pups by gently probing into the soil and separating their roots from those of the mother plant. Do this only when the shoots are at least 2 inches tall (or higher).
4. The babies can be planted in separate pots or in soil. If you do not want to be bothered with the process of separating pups, just let the plant spread. You will probably be trimming the leaves for juice anyway.
- Aloe Vera cannot tolerate sub zero temperatures. It is very frost tender! So if you live in a region where temperatures fall below zero during the winters, keep your plant indoors and place it near the window where it gets sufficient amount of light.
- Aloe Vera just loves the sun! It can withstand full sun exposure without any problems whatsoever. However, you do need to water it more often if it is fully exposed to sunlight. Once or twice a week is probably enough (As long as it does not rain outside). The key here is that the soil should be well drained. Poorly drained, wet soil means certain death for an Aloe Vera.
- If you notice that your plant is turning brown to reddish brown, go easy on the water please! Understand that the natural habitat of these plants is constituted by the sandy deserts of Africa where water is very hard to come by. Hence, Aloe Vera stores water in its roots and leaves.
- Moreover, it has developed the ability to ‘suck up’ water from even the driest of soils. So do not flood your Aloe Vera plant and water even less frequently in the winter since there is very little sunlight.
Remember: Do not fertilize often – once a year is more than enough. Water the plant well before fertilizing.
Mature Aloe Vera plants bear beautiful fire-colours flowers, whose nectar is relished by hummingbirds!
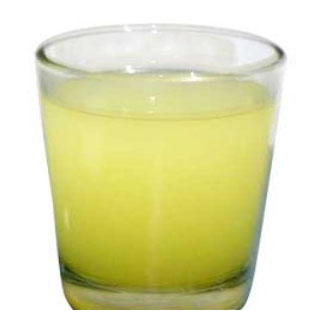
How to Make Aloe Vera Juice at Home
1. Take Aloe Vera Leaves
The useful parts of an Aloe Vera plant are the leaves because they produce the necessary gel for your juice. There are no specific technical methods to take the leaves. You can simply break them off from the plant without using any tool.
2. Peel the Rind
Use a sharp knife to peel the rind (thick outer skin) from the leaves. There should a yellow layer beneath the rind, which should be discarded as well.
You can actually use a knife to get rid of this layer, but it is also possible to rinse the leaves in cold water (after peeling the rind). For better results, create a rinsing solution by mixing a cup of cold water with 15 ml of white vinegar.
Once the yellow layer is removed, you have only clear Aloe Vera gel (the yellow layer needs to be removed for it may cause diarrhea).
Repeat the same steps until you have an adequate volume depending on your needs.
3. Add Citrus-based Juice
Put 30 ml of Aloe Vera gel into a blender along with a cup of citrus-based juice such as grapefruit or orange.
It is important that you process the gel immediately since this compound quickly oxidizes when exposed to air.
Adding citrus-based juice will help to stabilize the exposed gel.
Keep blending until those ingredients mix perfectly, which takes approximately 2 minutes.
You can use smaller or bigger amount of gel and citrus-based juice to get a different volume.
4. Store It Well
As mentioned earlier, Aloe Vera gel oxidizes quickly when exposed to air. Therefore, you need to store the ready-to-consume juice in an airtight container and keep it in a refrigerator.
The good thing is that Aloe Vera juice will stay fresh until up to a week. However, its total benefits can be acquired when consumed within 2 days.
Conclusion
Aloe Vera is easy to find almost anywhere in the world. The prices of ready-to-consume juices are also relatively inexpensive. Use it to make you own shampoo’s and really save some money.
Nonetheless, a homemade Aloe Vera juice does not use preservatives and other chemicals as ingredients, so it is always healthier.
Even without preservatives, the juice stays fresh until up to a week in refrigerator.
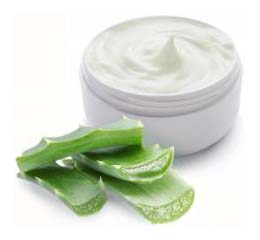
How to Make Aloe Vera Shampoo
Aloe Vera shampoo and other hair treatment products containing the same type of ingredient are available to purchase.
However, you can always create a homemade formula free from chemicals.
Making Aloe Vera shampoo does not need any sophisticated machine or require you to master certain extraction methods.
A step-by-step guide is provided below.
1. Compile the Ingredients
An amount of gel extracted from Aloe Vera leaves will not be enough to create a shampoo. You will need three more ingredients including liquid castile soap, vegetable oil, and glycerin.
Every mentioned ingredient can be easily purchased at medicine or health stores. You can extract the gel or simply buy it as well.
Usually, a commercially available Aloe Vera gel already contains another vegetable oil, which will make the whole processes easier to perform.
2. Mix the Ingredients
Mix all ingredients in a bowl. This step will involve 60 ml of gel extracted from aloe vera plant (you can purchase it, too), 60 ml of liquid castile soap, 5 ml of glycerin, and 1 ml of vegetable oil.
You may not need to use the vegetable oil if you use ready-to-use Aloe Vera gel. The vegetable oil will mainly add fragrance and strengthen the power Aloe Vera for hair treatment.
It means you can add different fragrances depending on your personal preferences. There are numerous types of vegetable oils you can use such as olive, rosemary, and so on.
Stir the ingredients by using a whisk and add a few drops of vegetable oil if necessary. These ingredients produce more or less half a cup of Aloe Vera shampoo, but you can add more amount of each ingredient if you want to.
3. Store it well
Pour the mixture into a bottle, and then store it well. It can be difficult to pour the mixture when the bottle cap has a narrow mouth.
To accommodate this issue, place a funnel on top of the bottle, and then pour your shampoo through it.
Please remember to place the cap tightly afterward. The shampoo is mild and can be used as daily hair treatment. However, the ingredients of the mixture may begin to settle out inside the bottle overtime.
Therefore, you need to shake the bottle well before each use for best results.
Besides shampoo, Aloe Vera gel can be used for making juice as well, and both of them are good for hair treatment.
Aloe Vera hair treatment is popular since it is able to reduce dandruff, prevent hair loss, promote healthy hair growth, and moisturize the hair, too.
It is even safe to use as everyday home hair treatment.